Hello Salesforce Cody’s
Steps for Implementing MFA Using Microsoft Authenticator App
Step 1: Login into your Salesforce account
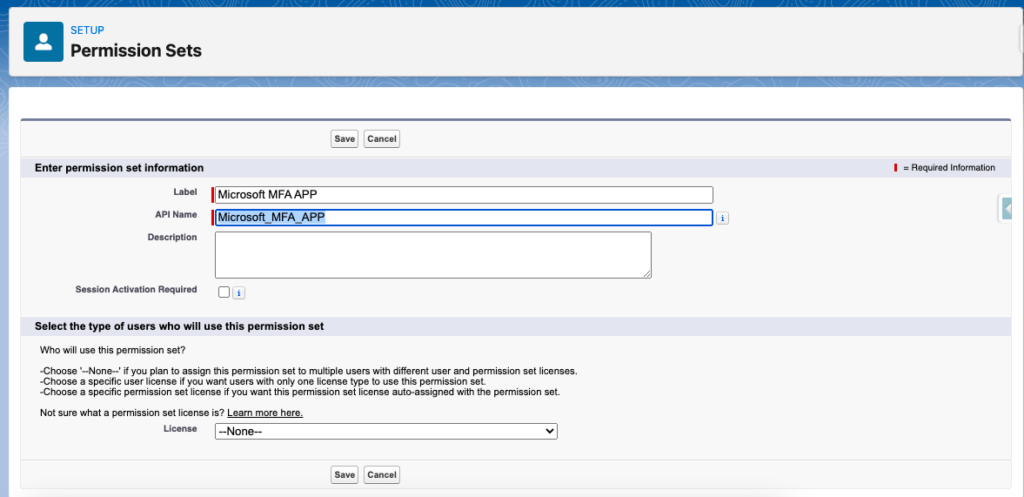
Step 2: On the setup page, search “Permission Set.”
Step 3: Click the “New” button to create a new permission set for the user
Enter the label name: Microsoft MFA APP
The API name will automatically generate, then click the “Save” button.

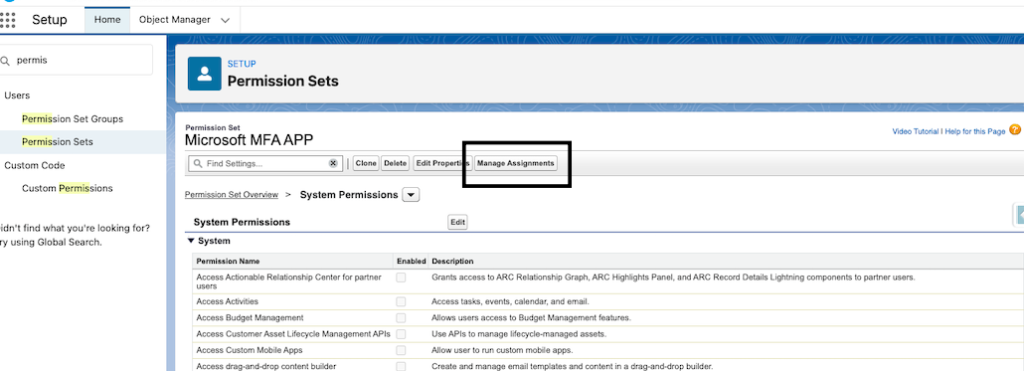
Step 4: After saving, scroll down and click “System Permissions” under the system section in the created permission set.
Then click the “Edit” button.

Step 5: Scroll down or search “Manage Multi-Factor Authentication in User Interface” and enable the check box.
To save the update, click the “Save” button.

Step 6: Click the “Manage Assignments” button and then click the “Add Assignments” button to add users.

Step 7: Select the user to enable two-factor authentication, then click the “Assign” button.
Step 8: Click the “Done” button and activate the created permission set.
Step 9: Go to > Setting > Advanced User Details
Step10: Click on Connect App Registration: One-Time Password Authenticator

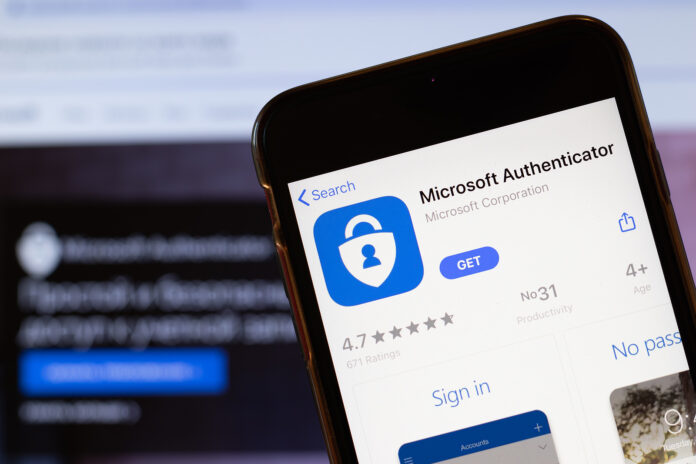
Step 11: Download and install the application from your mobile device’s app market.
for android: https://play.google.com/store/apps/details?id=com.azure.authenticator
for IOS: https://apps.apple.com/us/app/microsoft-authenticator/id983156458

Step 12: Open the “Salesforce Authenticator” app and skip the first page.
then we will see “Add Account.” button, click on it.
Then it will show you “What kind of account are you adding?”
Step 13: choose on “Other account”
Step 14: Scan the QR code which is visible on Desktop Screen which is salesforce, with the Microsoft Authenticator app
{I have hided the code for security reasons on this blog}

Step 15: Enter the six-digit code on the Verification code box which will you find on Microsoft Authenticator App
That’s it, you should be connected with your org.
if anyone is not able setup: email me at [email protected]
Also you contact me for Salesforce consultation for you project : https://salesforcecody.com/contact-me/


